While some industrial machine failures are major breakdowns requiring extensive repair, every once in a while, you may encounter a machine that requires a simple part replacement to get it back on track. Knowing how to do minor repairs can greatly increase your efficiency on the floor. Even if you send out for those minor repairs, knowing what the repair technician will need to do to fix the issue will be to your advantage.
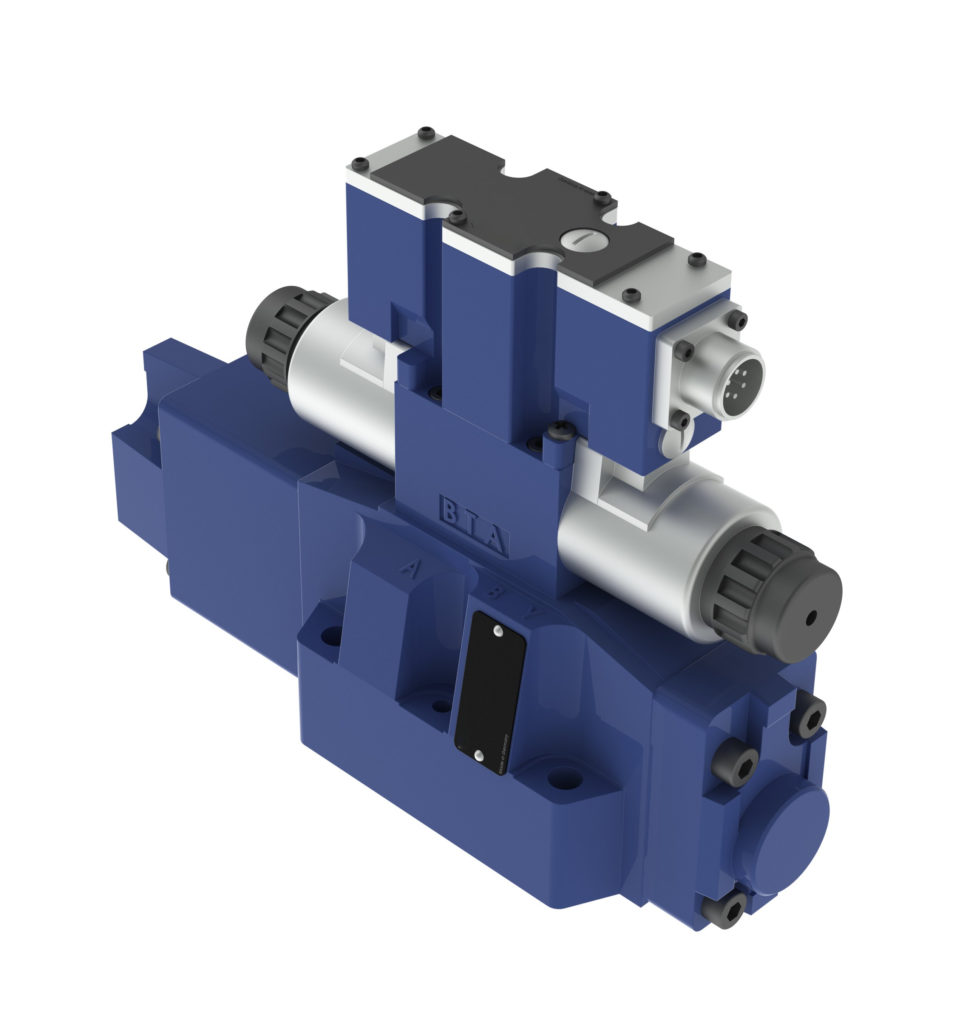
One part that can fail but that you may be able to repair relatively easily is a directional valve. A directional valve, as the name indicates, is a part with a spool that rotates either clockwise or counterclockwise as needed. If you need to fix a directional valve that will not spool in either direction, you may be able to repair it with a few simple steps. Should you be interested in trying to fix a directional valve, here’s how to proceed.
Steps to Fix a Directional Valve:
Step 1: Disassemble the Directional Valve
Remove the coils off of the ends of the directional valve by unscrewing the nuts and sliding the coils off. Use a wrench to loosen and remove the tubes. Remove the spring and slide the hex key from the tube. Then remove the spool from the directional valve.
Step 2: Check for Fatigue, Wear or Other Damage on All the Individual Parts of the Directional Valve
Inspect the coils for any chips, cracks or other signs of damage. Then check the springs for signs of fatigue. Check the tubes for any damage or debris, replace the O-rings, and check the body of the valve as well. Inspect the spool by rotating it and looking for any sign of wear, damage or fatigue.
Step 3: Clean and Replace
If any of the items you inspect show chips, cracks, major wear or other damage, that component or those components are probably the source of the problem. These are the parts you will want to replace. Whether or not you find damaged parts, though, contaminants in the system may be gumming up the works and preventing free operation of the valve.
Regardless of which parts you end up replacing, flush and clean all parts, especially the body, the spool and the tubes, to make sure there are no contaminants or anything that could interfere with the proper operation of the directional valve present.
Step 4: Reassembly
Once you have replaced any damaged or worn out parts and flushed and cleaned all the components of the system, you are ready to reassemble your directional valve. Start by reinserting the spool into the valve body housing. Do not force the spool in as you do not want to damage the spool. Before proceeding, test to see that the spool is able to slide back and forth freely. If it is, put your washers on either side to secure it to the body.
Next, insert your hex key into the tubes. Tap it to make sure it gets fully down into the tube, and then add your spring. Screw the reassembled tube into the valve body about finger tight, then do the same with the other side. Make sure they are secure, and then tighten with a wrench to secure it against the O-rings.
Finally, replace your coils, secure them with your nuts, and you should have a fully reassembled, functional directional valve. At this point, turn the valve over and remove and replace the remaining O-rings.
Step 5: Test
All that remains is to test the directional valve to make sure it is working properly. Hook the valve up to a hydraulic pressurizing machine with a test cylinder. Apply current to the coil and see if the spool shifts along with the test cylinder. Make sure it shifts in both directions, as it is a directional valve. Once you have verified that the spool is shifting in both directions as it should, you have completed your repair.
For all your electronic parts repair needs, you can always contact Global Electronic Services. Our team of electronic experts are familiar with all major brands of virtually all electronic industrial machines and components. We can replace damaged parts, repair faulty machines and do maintenance to optimize existing machines. Our repairs are fast — you’ll typically get your machine back in one to five days, and you can count on the results thanks to our industry-leading, 18-month in-service warranty.
For help or advice with any industrial electronics repair, call Global Electronic Services or contact us online today.