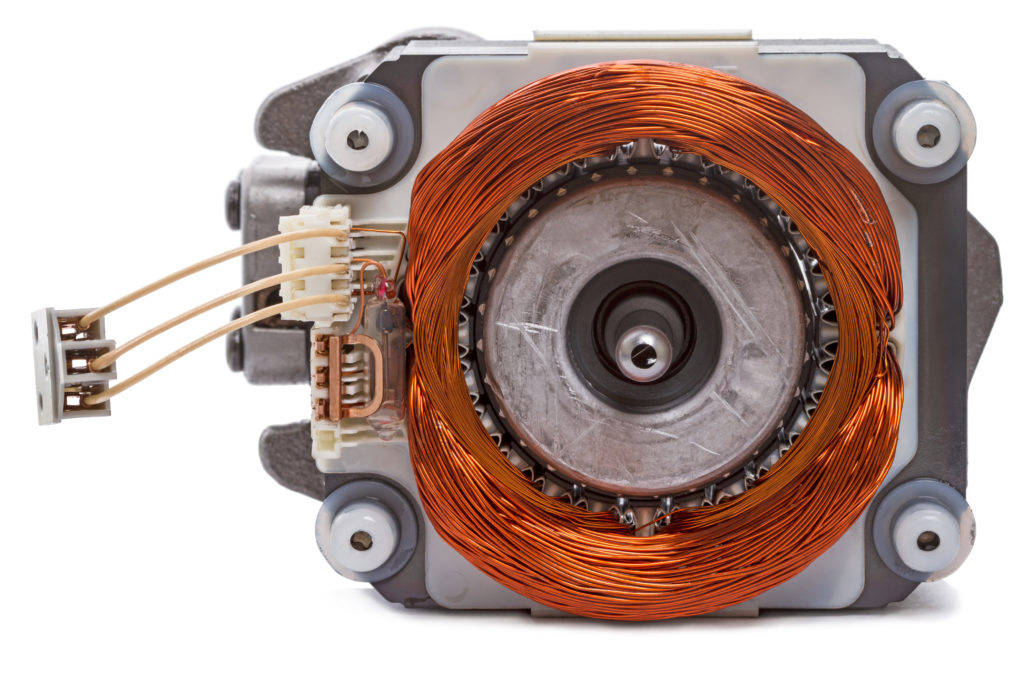
If you use brushless motors in your industry, you want to make sure they are in perfect working order at all times. Although it’s a good idea to schedule regular maintenance for all of your electronics, if you can test your brushless motors yourself, you may be able to save your business some service costs.
If your brushless motor isn’t spinning, you need to identify the problem. Here are some tips if you are looking to test a brushless motor.
How to Test a Brushless Motor for Short Circuits
The way a brushless motor works is by using electromagnets, rather than brushes, to spin the motor. The magnets are attached to the motor’s bell and push and pull the motor as necessary.
Electromagnets can also be used to generate power. When you spin a motor by hand it generates power. Many modern generators use this same process to create power. If any two of the wires are shorted together, you will experience resistance if you try to spin the motor by hand. If you separate all the wires, the motor should have no problem spinning when hand-propelled.
If you have separated all the wires you can and the motor still resists spinning, you can assume you have an internal short circuit.
How to Dry Test a Brushless Motor
If your motor is spinning, but it has recently overheated or sustained damage, you may want to dry test it to see if there are any problems with it. Here are the steps you can take to dry test your brushless motor.
Step One
Disconnect the motor from the Electronic Speed Controller (ESC) and wind it up with a variable-speed battery-operated drill, holding the stationary part and the three lead wires isolated. Run it at full speed for a couple of minutes. If the motor makes a strange noise or something inside the motor gets hot, you have a shorted winding or a loose magnet is hitting the stator within the motor.
Step Two
Label the three motor wires, making sure to continue to isolate them from one another, as 1, 2 and 3. Now connect your voltmeter to an AC range and connect two of the wires to terminals 1 and 2. Wind the drill at full speed again and note the AC voltage. Repeat this process with terminals 2 and 3 and 1 and 3.
If all three readings are not about the same, you have a problem with your motor wires.
Step Three
Check for short circuits between the stator and the windings. Look for any connection between the windings and the motor stator laminations. You will need to find bare metal on the stator for one connection to the meter and on the meter windings for the other. If you cannot find one, create one by poking through the coating of the steel laminations.
If the meter doesn’t read an open circuit, your motor is probably shot.
Step Four
If your motor passes all of these tests, it should be good to go. However, before putting it back into operation, you may want to check the no-load current of the motor and compare it with the specs provided by the manufacturer. This will allow you to identify a shorted turn in the motor or a winding that has shorted out.
If you have a shorted turn, you cannot use the motor. It will generate very high temperatures, causing the motor to fail and possibly do damage to your ESC.
What to Do After Your Brushless Motor Test
Naturally, if your brushless motor passes all the tests and seems to be functioning properly, you can put it back into operation, although you should still keep an eye on it and inspect it as part of your regularly scheduled maintenance. If the brushless motor fails any of the tests, you will probably have to get it repaired or replaced. Your first step should be to contact Global Electronic Services.
At Global Electronic Services, we are highly skilled at all types of motor repair, including brushless repair, and if your motor can be repaired, we can repair it. We will replace any worn-out parts or parts that are in danger of wearing out, and return a functioning motor to you in usually five days or less. Once you get your motor back, it is protected by our 18-month in-service warranty so you can put it back into operation with confidence.
